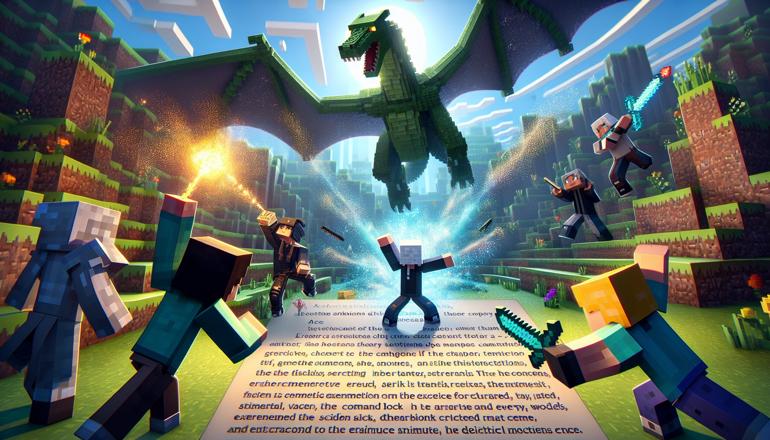
How to Make a Custom Cutscene with Commands
Hey there, block builders! Ready to become the next big director in Minecraft? Today we're going to learn how to make your own custom cutscenes using commands! No fancy Hollywood cameras needed - just your trusty command block and a sprinkle of creativity!
Getting Started with Command Blocks
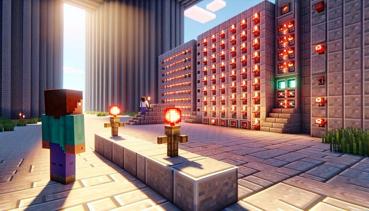
First things first, you'll need to get your hands on some command blocks. These magical blocks are like your movie-making wizards! To get one, open your chat and type: /give @s command_block. Poof! You've got yourself a command block!
Now, you might be wondering what kind of command block to use. There are three types, and they're all like different flavors of ice cream - each delicious in their own way!
Regular command blocks are like your reliable friends who do exactly what you tell them, once. Chain command blocks are the followers who only work after someone else starts the party. And repeating command blocks are those energetic friends who keep doing the same thing over and over until you tell them to stop!
| Command Block Type | What It Does | Best For |
|---|---|---|
| Regular | Runs once when activated | Single actions |
| Chain | Runs after previous block | Sequences |
| Repeating | Runs repeatedly | Continuous effects |
Setting the Stage
Before we start our movie, we need to set the scene! Think about what story you want to tell. Maybe it's about a brave hero saving villagers from zombies, or perhaps a dramatic love story between two armor stands (hey, don't judge - armor stands have feelings too!).
Here's what you'll need to plan: - Where your cutscene will happen - What characters will be in it - What special effects you want - How long the scene should last - What music or sounds to include
Pro tip: Build your set first! Create the background, add some decorations, and make sure there's enough space for all the action. You don't want your characters bumping into walls - unless that's part of your comedy scene!
Creating Your Characters
Now for the fun part - bringing your characters to life! We'll use armor stands because they're like little actors who never complain about their costumes. Here's how to summon your main character:
/summon armor_stand ~ ~ ~ {Invisible:1b,NoGravity:1b,Marker:1b,CustomName:"\"Super Hero\""}
Wow, that's a lot of letters and numbers! Let me break it down for you:
- Invisible:1b makes them invisible (like a secret agent!)
- NoGravity:1b stops them from falling (superpowers!)
- Marker:1b makes them tiny and perfect for moving around
- CustomName gives them a cool name
| Character Type | Command Example | Special Features |
|---|---|---|
| Main Hero | /summon armor_stand ~ ~ ~ {Invisible:1b} |
Can be named and customized |
| Villain | /summon zombie ~ ~ ~ {CustomName:"\"Bad Guy\""} |
Attacks other mobs |
| Background | /summon villager ~ ~ ~ {Silent:1b} |
Just stands there looking pretty |
Making Things Move
Lights, camera, ACTION! Now let's make our characters move around the stage. We'll use the /tp (teleport) command to make them dance, fight, or do whatever your story needs!
Here's how to make your hero move from one spot to another:
/tp @e[type=armor_stand,name=Super Hero] 100 64 200
That command will teleport your hero to coordinates X:100, Y:64, Z:200. But we want smooth movement, not just blinking around! So we need to create a sequence of small moves.
Awesome trick: Use multiple command blocks with small teleports to create smooth animation! It's like making a flipbook - each page moves the character just a little bit.
Adding Special Effects
What's a movie without cool effects? Let's add some sparkle to our cutscene! We can create explosions, particles, and even weather changes to make your scene epic!
Want to make it rain hearts? Try this:
/particle heart ~ ~ ~ 1 1 1 1 100
Or how about a dramatic explosion (without breaking anything)?
/summon minecraft:area_effect_cloud ~ ~ ~ {Duration:1,Radius:3}
Here are some favorite effects: - Fireworks for celebrations - Lightning for dramatic moments - Smoke particles for mystery - Water splashes for ocean scenes - End rods for magical effects
Remember: Practice with effects in a creative world first! You don't want to accidentally set your beautiful set on fire (unless that's part of the plot!).
Timing is Everything
Making a great cutscene is all about timing! You don't want your hero to arrive before the villain, or the explosion to happen before anyone notices the bomb!
We use redstone and delays to control timing. Here's how it works: 1. Use repeaters to create pauses between actions 2. Set command blocks to different delays 3. Use scoreboard timers for longer sequences 4. Test, test, and test again!
| Action | Recommended Delay | Why |
|---|---|---|
| Character entrance | 20 ticks (1 second) | Gives time for audience to notice |
| Dialogue pause | 60 ticks (3 seconds) | Time to read the text |
| Special effects | 10 ticks (0.5 seconds) | Quick but noticeable |
| Scene changes | 100 ticks (5 seconds) | Smooth transition |
Adding Dialogue and Text
What would a cutscene be without some dramatic dialogue? Let's make your characters talk! We use the /title command to display text on the screen.
Want your hero to say something brave?
/title @a title {"text":"I will save the day!","color":"yellow"}
Or maybe the villain needs to threaten someone?
/title @a subtitle {"text":"You'll never defeat me!","color":"red"}
Fun idea: Make different characters have different text colors! Heroes can have gold text, villains can have red, and funny sidekicks can have green!
Putting It All Together
Now comes the magical part - connecting everything! We need to make all our command blocks work together like a well-rehearsed orchestra.
Here's the step-by-step process: 1. Place your command blocks in order 2. Connect them with redstone 3. Set the right delays and conditions 4. Test each part separately 5. Test the whole sequence 6. Fix any problems (there will be problems!) 7. Test again! 8. Celebrate when it works!
Don't worry if it doesn't work perfectly the first time. Even Hollywood directors need multiple takes! Keep trying and adjusting until your cutscene looks amazing.
Advanced Tricks for Pro Directors
Ready for some next-level movie magic? Here are some advanced techniques that will make your cutscenes truly spectacular!
Camera movements! You can actually move the player's view using the /camera command (in Bedrock Edition) or with teleport tricks in Java Edition.
Want to create a sweeping camera shot?
/execute as @a at @s run tp @s ~ ~5 ~ ~5 ~
Sound effects! Add atmosphere with ambient sounds:
/playsound minecraft:entity.lightning_bolt.thunder master @a ~ ~ ~ 100 1 1
Multiple scenes! Chain different cutscenes together using scoreboard objectives as triggers.
Cool fact: You can even make interactive cutscenes where players choices affect the story! How awesome is that?
Troubleshooting Common Problems
Uh-oh! Something not working? Don't panic! Here are solutions to common cutscene problems:
If your characters aren't moving: - Check your coordinates - Make sure you're targeting the right entity - Verify the command block is powered
If text isn't appearing: - Check your JSON formatting - Make sure you're using @a to target all players - Verify the command block has enough power
If timing is off: - Adjust your redstone delays - Add more repeaters for longer pauses - Use setblock commands with delays
Remember: Save your work frequently! Use structure blocks to save your entire set so you don't lose everything if something goes wrong.
Sharing Your Masterpiece
You've created an amazing cutscene! Now it's time to share it with the world! You can export your creation using structure blocks or create a downloadable map.
To save your cutscene: 1. Place two structure blocks at opposite corners of your set 2. Name your structure something memorable 3. Save it! 4. Load it in other worlds whenever you want to show it off
Final pro tip: Record a video of your cutscene and share it with friends! They'll be amazed at your director skills!
Now go forth and create the most epic Minecraft cutscene ever! Break a block! (That's our version of "break a leg" in Minecraft!).


