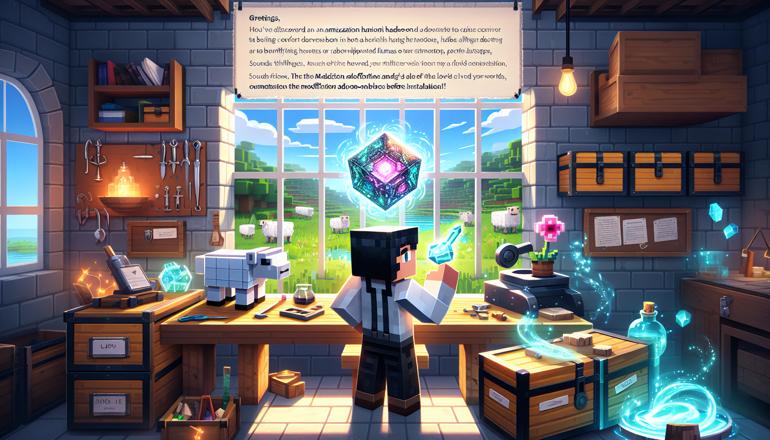
How to Test Mods Before Installing
Hey there, fellow Minecraft explorer! So, you’ve found a super-duper mod that promises to turn your world into a land filled with rainbow-spitting llamas or diamond-powered jetpacks. Sounds awesome, right? But wait – what if that mod is actually a sneaky creeper in disguise, ready to blow up your favorite world? Yikes! That’s why you’ve gotta test mods before letting them anywhere near your precious builds. Let’s learn how to do it safely, without any “boom” moments!
Why Testing Mods Is Like Checking for Spiders Under Your Bed
Imagine downloading a mod and just plopping it into your game. It’s like inviting a stranger to your birthday party without knowing if they’ll eat all the cake or bring a llama that… well, let’s just say llamas can be messy. Testing mods first is your superhero shield against crashes, glitches, and world-eating bugs. You wouldn’t eat a mystery stew without smelling it first, would you? Same idea!
Some mods might not play nice with other mods. Others might just decide your computer is a great place to take a nap (a very long, crashy nap). By testing, you make sure everything runs smoothly, like butter on a hot potato. Or like a minecart on a well-powered rail! Testing isn’t just smart – it’s essential!
Getting Your Testing Lab Ready
Before you test anything, you need a safe space. No, not a pillow fort (though those are great for thinking). You need a test world and a test version of Minecraft. Here’s how to set up your very own mod-testing laboratory:
- First, make a copy of your Minecraft installation or use a separate launcher profile. This way, if the mod goes bananas, your main game stays safe and sound.
- Always, and I mean ALWAYS, back up your worlds. Seriously, do it! If I had a diamond for every time someone said “I should have backed up,” I’d be richer than a pillager with a vault.
- Use a testing world that you don’t care about. Maybe name it “Mod Testing Fun Zone” or “Please Don’t Explode.” Get creative!
Here’s a quick table to show what you need before testing:
| What You Need | Why It’s Important |
|---|---|
| A separate game profile | Keeps your main Minecraft safe from mod mishaps. |
| A backup of your saves | Because nobody wants to say goodbye to their epic castle. |
| The correct Minecraft version | Mods are like shoes – they only fit certain sizes! |
| Patience and snacks | Testing can take time. Snacks help. Always. |
See? Easy peasy lemon squeezy! Now, let’s move on to the fun part.
Step-by-Step: Your First Mod Test
Ready to be a mod scientist? Put on your lab coat (or your diamond armor – same thing). Follow these steps, and you’ll be testing like a pro:
Step one: Download the mod from a trusted source. Think of it like choosing fruit at the market – you want the shiny, safe apple, not the one that looks like it’s been in a fight with a zombie. Websites like CurseForge or the official mod pages are your best friends.
Step two: Install one mod at a time. I know, I know – you want ALL the mods NOW. But testing one by one helps you know which mod is the troublemaker if something goes wrong. It’s like knowing which friend spilled the punch at the party.
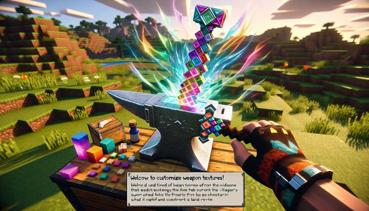
Step three: Fire up your test profile and cross your fingers. Well, not literally – you need your fingers to play! Load your test world and look around. Does everything seem normal? Are the blocks blocky? Good! Now try out the mod’s features. If your mod adds magic wands, wave it around. If it adds pies, take a bite (virtually, of course).
Here’s what to look for during your test:
- Game crashes or freezes. If Minecraft suddenly turns into a slideshow or exits faster than a scared Enderman, that’s a red flag.
- Weird textures or missing blocks. If your new rainbow ore looks like purple spaghetti, something’s up.
- Features not working. If the jetpack just makes you jump normally, it might not be installed right.
- Conflicts with other mods. Sometimes mods argue like siblings. If they won’t play nice, you might have to choose one.
If something goes wrong, don’t panic! Just remove the mod, take a deep breath, and maybe have a cookie. Then try to figure out what happened. Check the mod’s instructions again – maybe you missed a step.
Common Problems and How to Fix Them
Even the best mod testers run into bumps. Here’s a handy list of common issues and what to do:
- Game won’t start: Often means the mod isn’t for your Minecraft version, or you’re missing a required library (like Forge or Fabric). Double-check!
- Weird glitches: Might be a conflict with another mod. Try testing without other mods to see if it works alone.
- Mod features missing: Ensure you installed it correctly. Sometimes mods need to be in the ‘mods’ folder, not just anywhere.
Remember, most mod creators provide help on their pages. Don’t be shy to look for answers or ask politely in comments. They’re usually super nice and helpful!
Tools That Make Testing Easier
Want to be a testing superstar? Some tools can help! Mod managers like CurseForge App or MultiMC let you handle mods without messy folders. They’re like having a robot helper for your mods – set up profiles, install mods with clicks, and keep everything organized.
Here’s a quick comparison:
| Tool | Best For | Why It’s Cool |
|---|---|---|
| CurseForge App | Beginners and easy mod management | One-click installs, keeps mods updated, and has built-in testing profiles. |
| MultiMC | Advanced users who want control | Lets you customize everything and run multiple Minecraft versions easily. |
| Manual install | Those who like doing things step-by-step | You learn exactly how mods work – great for understanding the game better! |
No matter which you choose, these tools can save you time and keep your game happier.
When to Say “Nope” to a Mod
Sometimes, despite your best efforts, a mod just isn’t right. If your game crashes constantly, or things look stranger than a pink sheep in a desert, it might be time to let that mod go. It’s okay – there are plenty of fish in the sea, and plenty of mods in the workshop! Your game’s safety comes first.
Also, watch out for mods from unknown websites. If a site looks sketchy or asks for weird downloads, better to skip it. Stick to well-known sources, and you’ll avoid most trouble.
Become a Mod Testing Master!
With these tips, you’re on your way to being a mod-testing champion! Remember, testing might seem like extra work, but it saves you from headaches later. Plus, it’s kind of fun – like being a detective for your Minecraft world. Grab your magnifying glass (or your enchanted glass pane) and start investigating!
Happy modding, and may your game always be crash-free!